The fast way to begin with Ichiloto is to follow the same loop featured on the website.
1. Install the CLI
composer global require ichiloto/consoleComposer installs Ichiloto and resolves its dependencies automatically. The
installation gives you the ichiloto command everywhere in your terminal.
2. Create a project
ichiloto new my-rpgThe new project gives you a starting shell with the files and structure the engine expects, including a generated title banner in assets/Graphics/System/title.txt.
If you want to reforge that banner later, use:
ichiloto generate:figlet "Moonfall Legend" --output assets/Graphics/System/title.txt3. Open the editor
cd my-rpg
ichiloto edit
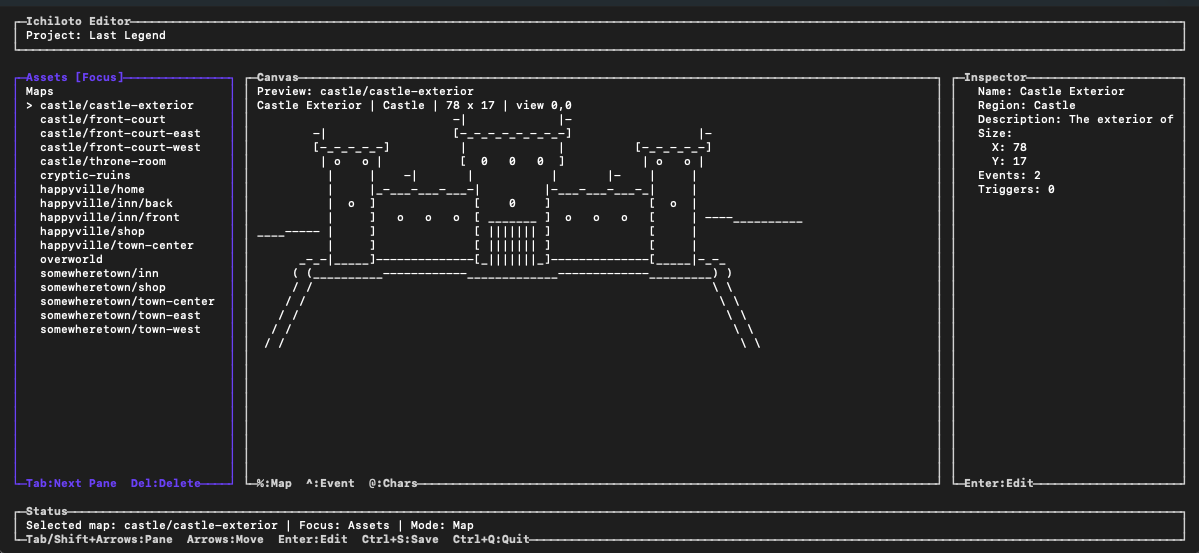
The editor is where maps, events, dialogue, and project data become tactile. Think of it as the worldbuilding cockpit rather than a detached side utility.
4. Play and test
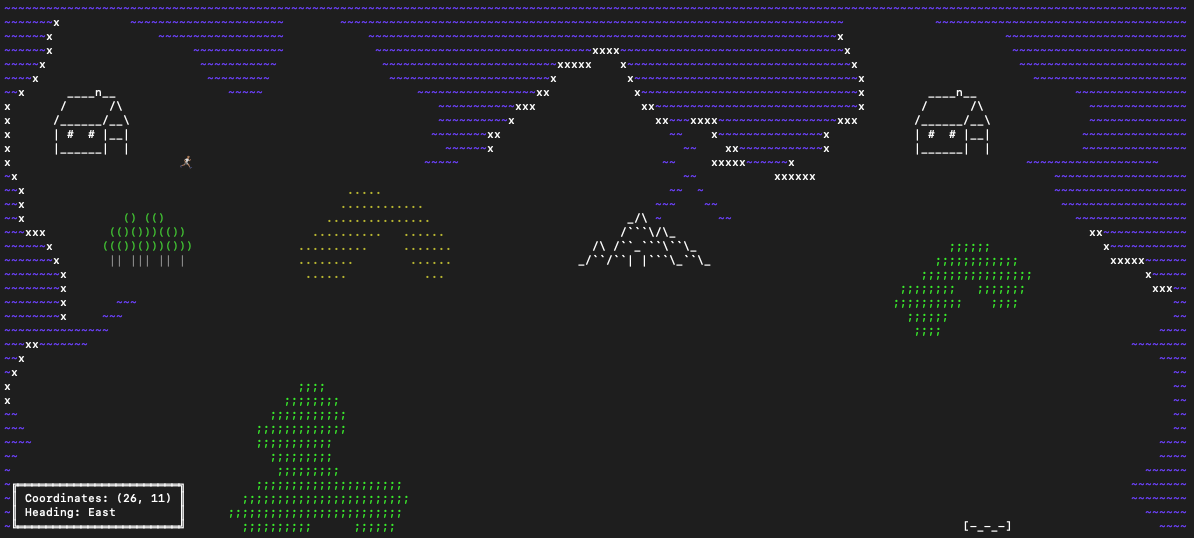
ichiloto playThis is the habit to preserve from day one: make a change, run the game, observe the feel, and refine immediately. Ichiloto works best when editing and playtesting stay close together.
As the project grows, add validation to that loop:
ichiloto validateValidation checks authored content and runtime references without modifying the project. The Validate and Balance guide explains how to combine it with focused battle playtests and simulations.